All Posts
Shoot Prep

Interior Styling Decisions That Quietly Undermine Photography Results

The styling decisions that most often work against interior photography aren't design failures — they're decisions made for the human eye rather than the camera. The biggest ones: arriving without enough on-set options, skipping the hand steamer (and a long extension cord), over-styling the space, holding on to a piece that isn't working through the lens, and treating the shoot as a delivery rather than a collaboration. Here's what each one looks like in practice — and what to do instead.

The camera doesn't see what you see. That's not a flaw in the process. It's simply the nature of the medium. What reads as balanced, considered, and refined in person can shift noticeably once it's viewed through a lens. Scale changes. Proportion changes. Details that felt intentional can suddenly compete for attention in ways they never did in the room.

Most styling decisions that affect photography results aren't mistakes in design. They're decisions made for the wrong medium. Understanding how photography interprets a space — and adjusting preparation accordingly — is what separates good images from strong ones.

Editorial interior photograph of a primary bathroom with sage-green hexagonal tile, a freestanding tub styled with a striped hand towel, framed landscape art, and florals on a small side table — every visible element is a styling decision.

Arriving Without Enough Styling Options

A strong design vision is an asset. On shoot day, it can occasionally become a limitation.

When the styling plan is built around specific pieces and those pieces don't translate the way you expected — through the lens, at that angle, in that light — there's very little room to adjust if nothing else is available.

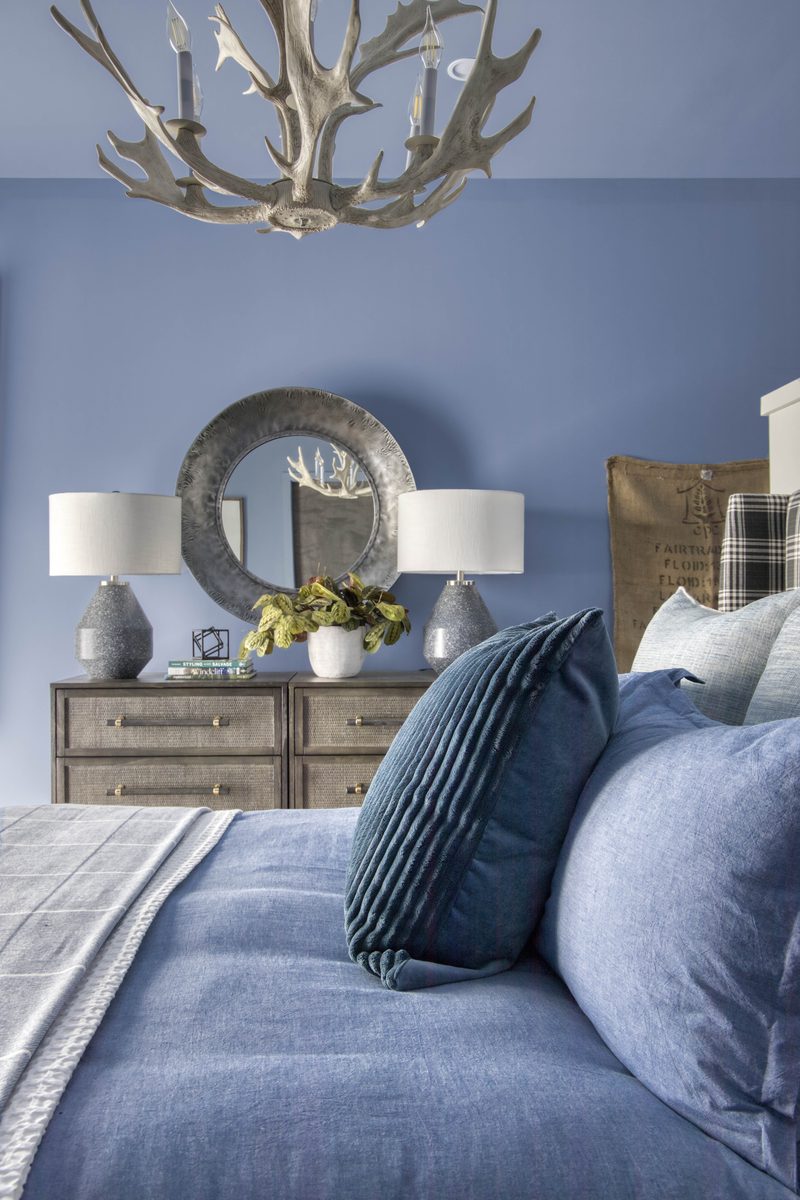
The camera makes decisions visible that the eye overlooks. A vase that felt perfect in the room may read too heavy in the frame. A stack of books that anchored a surface beautifully in person may disappear entirely on camera. Scale, tone, and proportion shift.

Having options changes everything. Bring more than you think you need — especially in these categories:

  • Vessels and vases in varying heights and tones
  • Books in different sizes and neutral covers
  • Trays, bowls, and decorative objects
  • Throws and textiles in different weights
  • Greenery and botanicals in varying scales
  • Candles in both taper and vessel styles

You won't use all of it. That's the point. The ability to swap, adjust, and edit in the moment is one of the most valuable tools you can bring to a shoot. Editing on site — with options in hand — produces stronger images than committing to a plan that isn't working through the lens.

Not Bringing a Hand Steamer — and a Long Extension Cord

Textiles are one of the first things the camera notices.

A wrinkled duvet cover. Drapery with a fold line from being tied back too long. A linen napkin that looked relaxed and casual to the eye, and looks like it came from the bottom of the hamper through the lens.

These are details that styling can't solve on the day without the right tool. Wrinkles are also one of the most difficult things to correct in post-production. Unlike a stray cord or a smudge on a surface, fabric creases require significant retouching time — making them one of the more expensive fixes to outsource. A hand steamer costs less than an hour of professional retouching.

Most local box stores carry them for under $100 — a small investment that pays for itself on the first shoot. Just as importantly: bring a long extension cord. Outlets are rarely where you need them, and a short cord in the wrong room creates unnecessary friction when time matters.

Pack for:

  • Duvet covers and pillow covers
  • Drapery and curtain panels
  • Table linens and napkins
  • Throw blankets
  • Towels

A few minutes with a steamer before the camera arrives can be the difference between an image that feels polished and one that feels slightly off — without anyone being able to identify exactly why.

Vertical editorial detail of a freestanding tub with a fringed striped hand towel draped over the rim, fresh florals in a glass vase, and a framed landscape print — the textile and surface styling decisions that show up immediately through the lens.

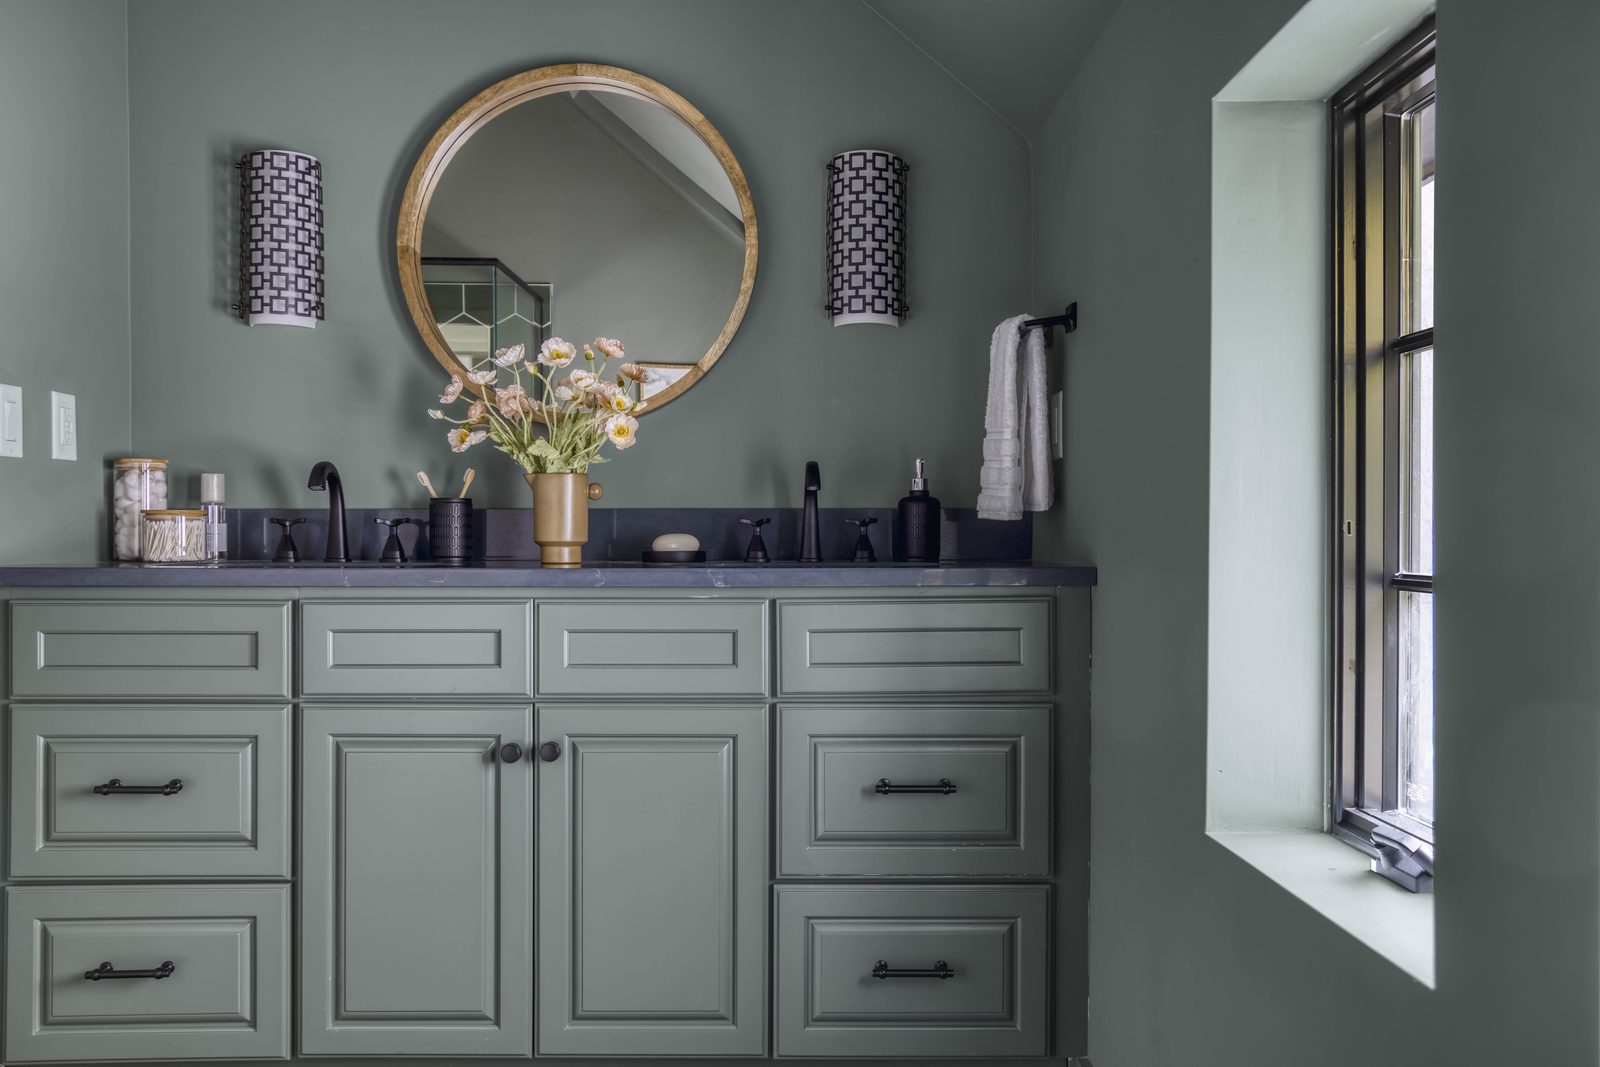
Letting Abundance Work Against the Image
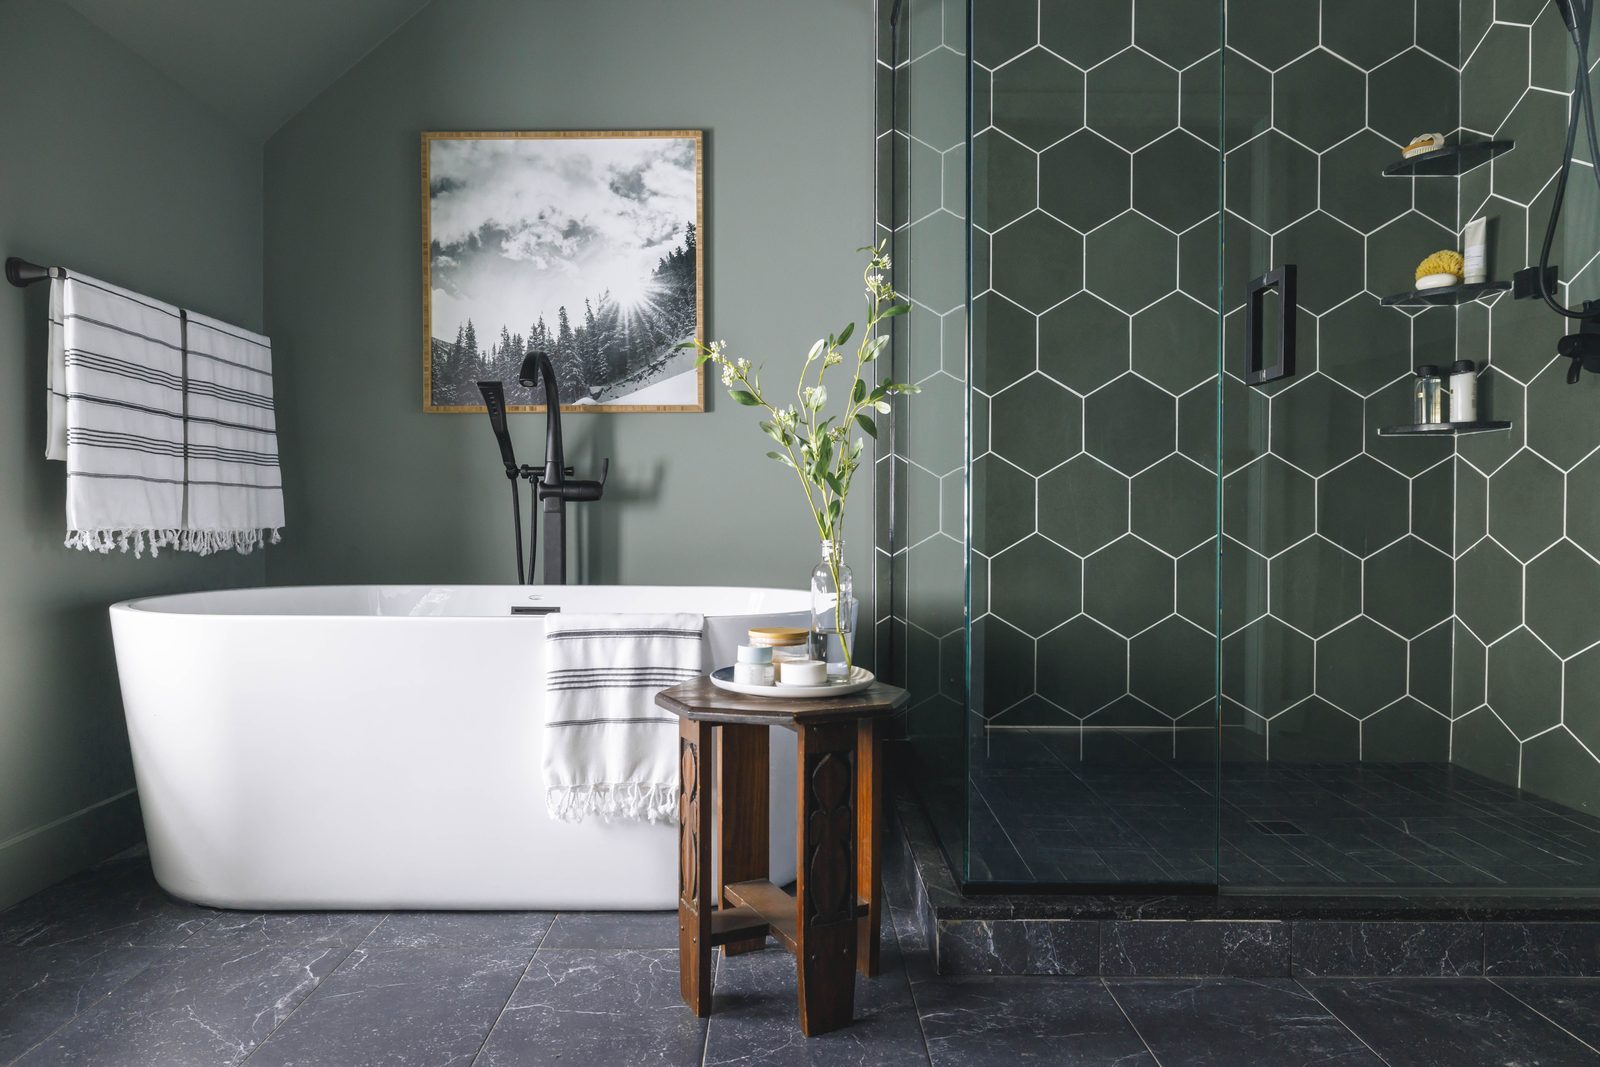
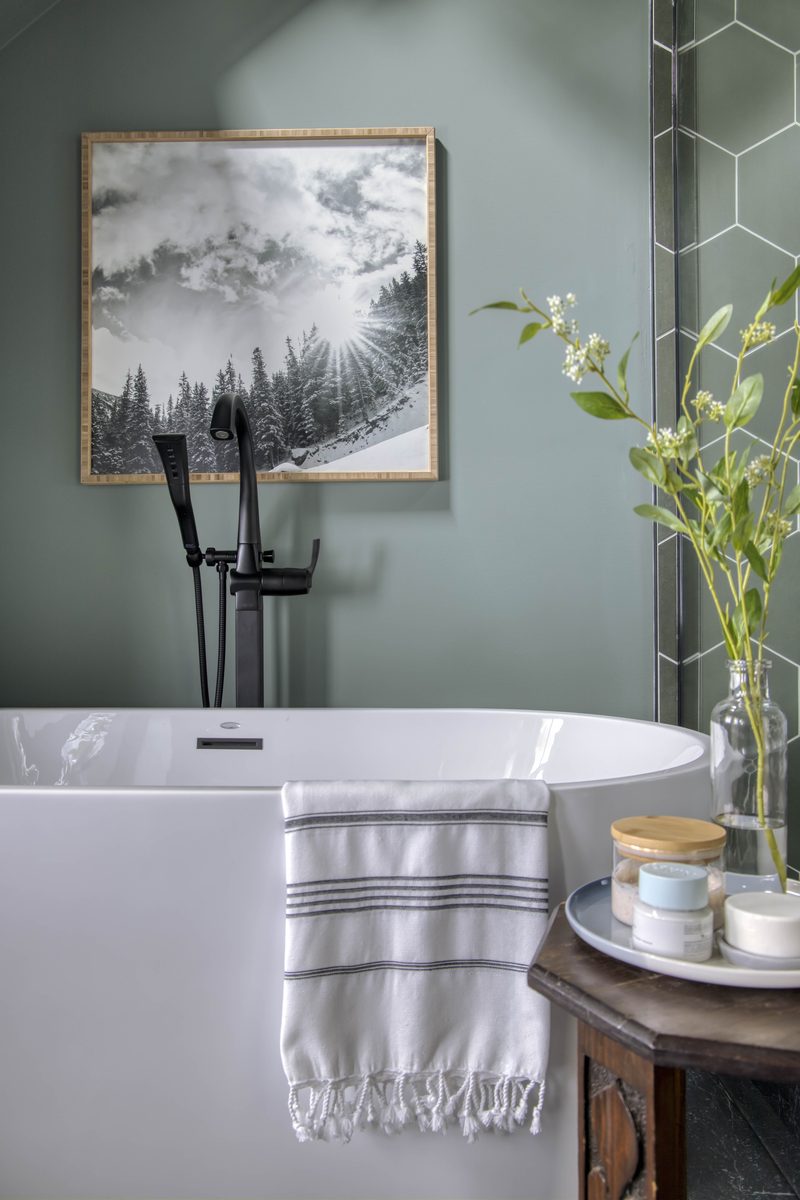
More is not always more — and photography makes that clear quickly.

There is a natural instinct to fill a space. To layer, add, and elevate until everything feels considered and complete. That instinct serves designers well in real life. On camera, it can work against the very design it's meant to showcase.

Photography compresses space. What feels balanced and layered in person can read as cluttered in a frame. The eye moves through a room naturally, editing as it goes. The camera captures everything at once — and gives every object equal attention.

One accessory too many, and the image loses its point of focus. The design gets lost in the details.

When in doubt, take it away.

Editorial interior photograph of a sage-green powder room vanity with a round mirror, twin patterned sconces, a single arrangement of cream daisies, and dark stone counter — restrained styling with one focal point, the visual equivalent of 'when in doubt, take it away'.

Knowing When to Let Go

Every designer arrives on shoot day with a vision. Specific pieces were sourced, arrangements were considered, and decisions were made with intention. That investment is part of what makes the work meaningful.

An object, a furniture arrangement, a specific vignette — something you've been picturing in the final image for weeks — may simply not work once you're looking at it through the lens. The color pulls differently. A shape competes with something behind it. An angle that felt obvious while walking the room loses something when it's framed. It just doesn't land the way it lived in your imagination.

This is one of the more difficult moments on shoot day. And one of the most important ones to navigate well. Letting go of something that isn't working — even something you love — almost always produces a stronger image than holding on to it.

The exception is a sponsored shoot, where specific products are required to appear in the final images. Outside of that context, every decision on shoot day should be considered flexible.

What looked perfect in your mind and what works through the lens are sometimes two different things. The willingness to tell those apart is what separates a good shoot from a great one.

Free — Interior Photography Prep Checklist

The professional standard, in checklist form.

A 7-page printable checklist for interior designers — designed to make shoot day feel like execution, not crisis management.

Get the Checklist

Treating the Shoot as a Delivery, Not a Collaboration

Something happens on a shoot day when a designer and photographer are truly working together.

The day moves differently. Decisions come easier. There's a creative momentum that builds as the hours go on — a shared investment in getting it right. And somehow, that energy finds its way into the images.

It's difficult to describe precisely, but it's visible in the work. Images made on collaborative shoot days have a quality that's hard to manufacture any other way. They feel alive. Considered. Like every element in the frame was intentional.

That quality starts with communication. Sharing priorities before the camera is unpacked. Being present and engaged throughout the day rather than distracted. Listening when the photographer sees something through the lens that changes the plan. Asking questions. Staying open.

The photographer brings a specific vision to the day — one shaped by light, composition, and how the camera reads a space. The designer brings an equally specific vision shaped by the intent behind every decision in the room. When those two perspectives meet and work together, the result reflects both.

The best shoot days don't feel like a transaction. They feel like a creative partnership. And the images — without fail — show the difference.

Vertical editorial interior photograph of a periwinkle bedroom with an antler chandelier, twin lamps on a textured dresser, a round mirror, and layered blue and tartan bedding — a textile-heavy frame where every styling decision is visible to the camera.

One More Thing Worth Mentioning

Everything in this post becomes significantly easier with one thing in place — a dedicated shoot day styling kit.

Not a general supply bag. A specific, intentional kit built for the demands of a photography shoot. Window cleaner, cloths, a Swiffer, a rechargeable vacuum, paper towels, specialty cleaners for surfaces like brass, stone, and hardwood. Scissors. A fanny pack to keep essentials within reach throughout the day.

It's a topic that deserves its own conversation — and I cover it in detail in The Shoot Day Styling Kit Every Interior Designer Should Have on Set. Because arriving prepared with the right tools is as important as every styling decision that happens once you're there.

None of the decisions above are failures of design. They're decisions made without full consideration of how photography interprets a space. The camera is a different audience than the human eye — its own logic, its own relationship with light, scale, texture, and composition. Understanding that logic, and adjusting preparation accordingly, is what moves a shoot from good to strong.

For more on what shoot day actually looks like, here's what to expect during an interior design photography shoot. And if you want a step-by-step way to walk a project through to shoot-ready, the checklist below is built for exactly that.

The Short Version

The styling decisions that work against interior photography aren't design failures — they're decisions made for the human eye rather than the camera. Bring more options than you think you need, pack a hand steamer and a long extension cord, resist the instinct to over-style, stay willing to let go of pieces that aren't working through the lens, and treat the shoot as a creative partnership rather than a delivery. The designers who walk away with the strongest images aren't the ones with the most refined projects — they're the ones who came prepared, stayed flexible, and understood photography as a collaboration. If you want a structured way to walk your next project from sourcing to shoot day, the Interior Photography Prep Checklist is built for exactly that.

Quick Answers

What styling mistakes hurt interior photography the most?

The most common are arriving without enough on-set styling options, skipping a hand steamer, over-styling the space, refusing to let go of a piece that doesn't work through the lens, and treating shoot day as a delivery rather than a collaboration. None are design failures — they're decisions made for the human eye rather than the camera, which sees scale, proportion, and competition between objects differently.

How should interior designers prep styling for a photo shoot?

Bring layered options in every category — vessels, books, trays, throws, greenery, candles — in varying heights, tones, and scales. Pack a hand steamer and a long extension cord for textiles. Plan for editing on site rather than committing to a fixed plan, since the camera will surface things the eye misses. The goal is the ability to swap and adjust in the moment, not to execute a pre-decided look.

Why do my interior photos look cluttered even when the room feels balanced in person?

Photography compresses space. The human eye edits as it scans a room — the camera doesn't. Every object in a frame gets equal attention, so styling that feels layered in person can read as competing or cluttered through the lens. The fix is restraint: when in doubt, take one accessory away rather than adding another.

Should designers attend their own photography shoots?

Yes — and not just to approve images. The strongest shoots happen when the designer is present, communicating, and willing to adjust on the fly. Sharing priorities before the camera is unpacked, listening to what the photographer sees through the lens, and staying open to changing the plan together produces images that look intentional in a way absent-designer shoots rarely do.

What's the single most overlooked item designers should bring to an interior shoot?

A hand steamer, paired with a long extension cord. Wrinkled fabric — duvets, drapery, table linens — is one of the first things the camera notices and one of the most expensive things to fix in post. A steamer under $100 prevents hours of retouching and protects the polish of every textile-heavy frame.