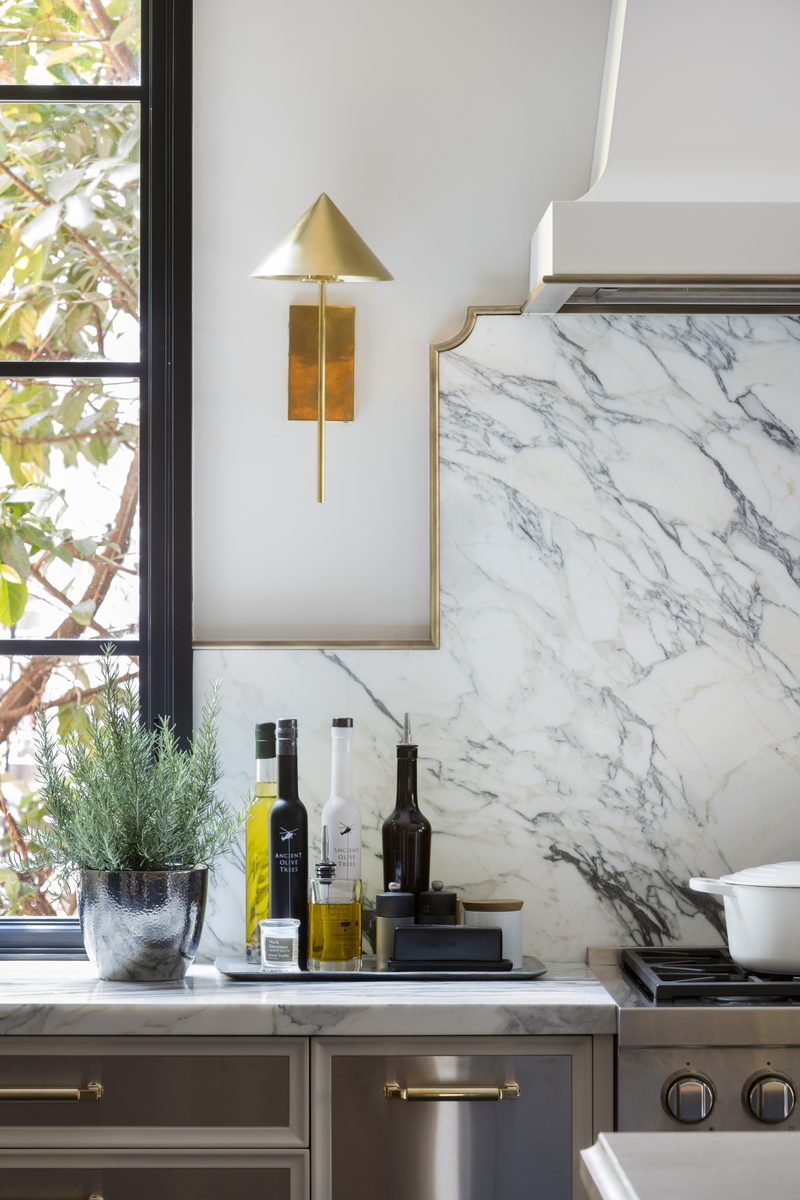
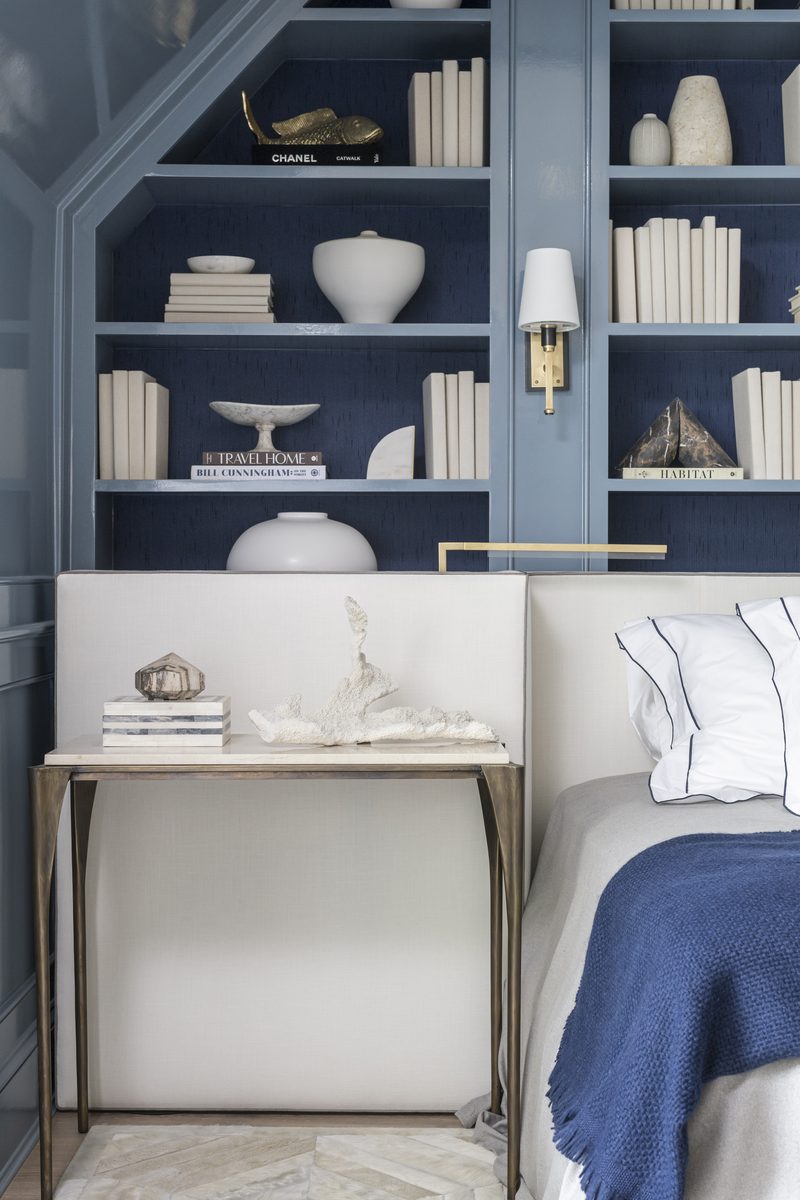
Natural daylight is the primary light source in almost every interior shoot I do, because it reads as true to the room and doesn't fight the eye. Artificial light, in this context, isn't the room's lamps or overhead fixtures; it's the photographer's own controlled light (strobe, flash, LED panels, reflectors) brought in to balance a dark interior against a bright window or fill a shadow daylight can't reach. The room's built-in lights almost always get turned off first.
That last part is usually what catches designers off guard. You've styled a room with lamps glowing and sconces on, and the first thing I do on shoot day is kill every one of them. It's not a stylistic choice. It's a color science problem. Here's what's actually happening, and when I'd turn a light back on.
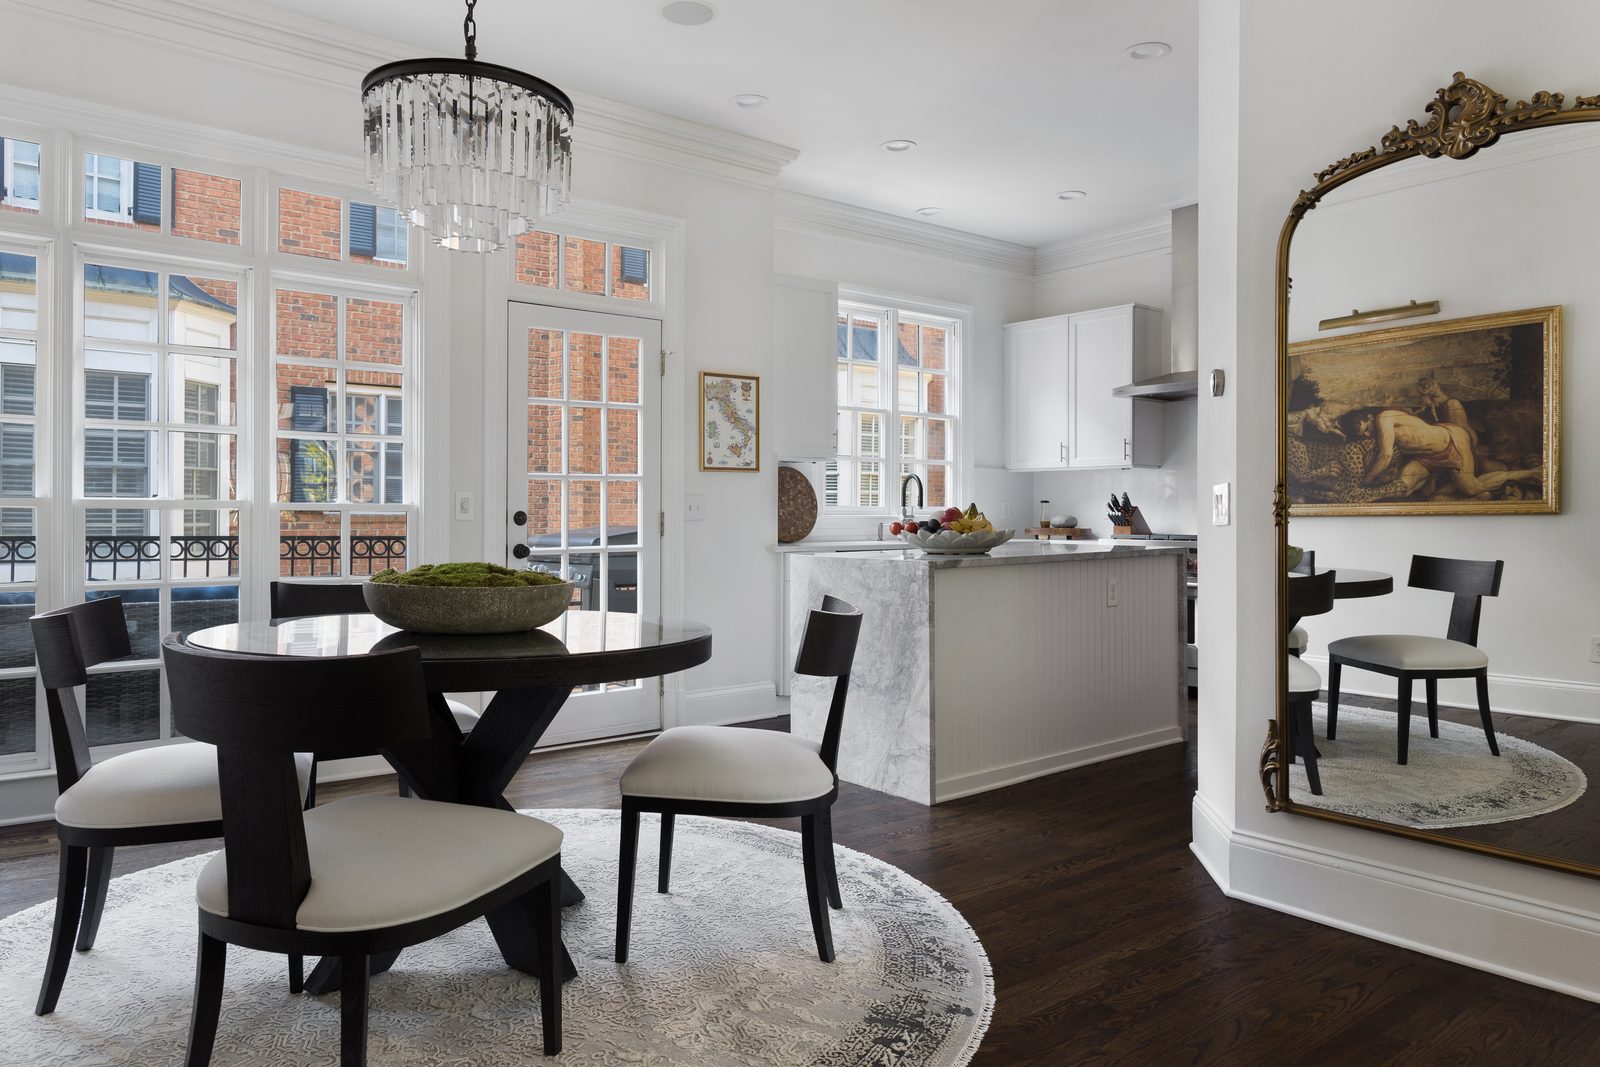
Why the Room's Own Lights Get Turned Off
Every light source has a color temperature, and mixing them creates a problem a camera can't quietly solve. Daylight coming through a window reads around 5000-6500K: cool, blue-white. A table lamp or overhead can fixture runs 2700-3000K: warm, amber. Point a camera at a room lit by both at once, and you get color casts: the wall near the window looks blue-gray, the wall near the lamp looks orange, and nothing in between reads as the wall's actual paint color.
Your eye doesn't notice this because your brain corrects for it in real time. A camera sensor doesn't have that luxury: it records exactly what's there, mixed light and all. White balance in post-production can chase one color temperature or the other, but it can't split the difference across a room lit by two conflicting sources at once. That's the real reason the lamps go off: not because ambient light looks bad, but because mixed light is nearly impossible to correct evenly.
Once the room's fixtures are off, I'm working with one light source I understand and can control: daylight, shaped and supplemented by my own equipment. The color temperature stays consistent across the frame, which is what lets a wall actually look like the color your client approved.
This is a different question from when to shoot. I've written separately about scheduling shoots around when the home is actually available rather than chasing a specific hour of daylight, since that's an access problem. This post is about what happens once you're in the room: what light does the work, and why.
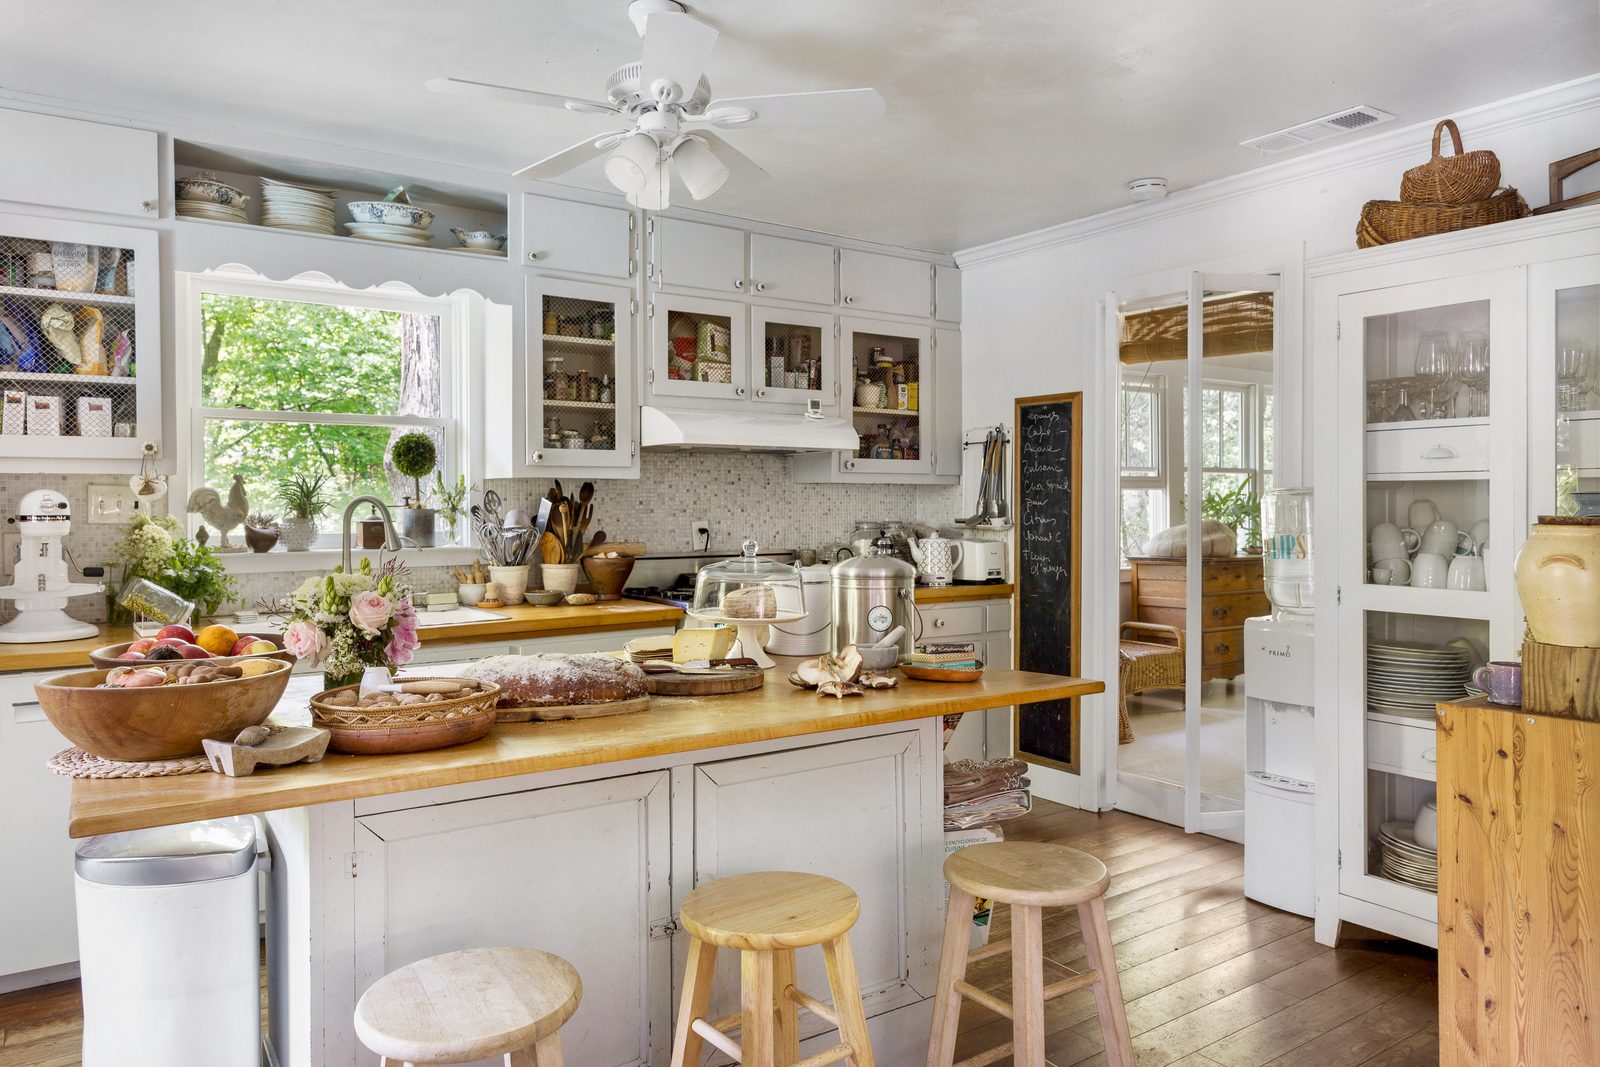
What "Artificial Light" Actually Means on an Interior Shoot
When I say artificial light, I mean equipment I brought and control, not anything built into the house. This is the part that gets confused most often, so here's the actual toolkit and when each piece comes out:
Strobe/flash: This is the workhorse for balancing a dark interior against a bright window. If a room has gorgeous natural light but the window itself is blown out white while the interior sits in shadow, a strobe fired into the room (often bounced off a ceiling or wall, not aimed straight at the subject) lifts the interior exposure to match the window without changing its color temperature. The result: you can see both the room and the view outside in the same frame, properly exposed, instead of choosing one or the other.
Continuous LED panels: These come out for tight spaces (a small bathroom or closet where a bounced strobe has nowhere to bounce), for shots that are video-adjacent, or when I need to see the light's effect in real time rather than through a flash burst. LED panels are dimmable and color-adjustable, which makes them useful for small, enclosed spaces where precision matters more than raw power.
Reflectors and bounce: The simplest tool in the kit. A white or silver reflector redirects existing daylight into a shadow (under a kitchen island, inside a dark closet, across a dim corner) without adding a new light source or a new color temperature to manage. It's daylight, just redirected.
None of this is about making a room look like something it isn't. It's about giving the camera what your eye already does automatically: an exposure that holds detail in both the bright window and the shadowed interior, in one consistent color.
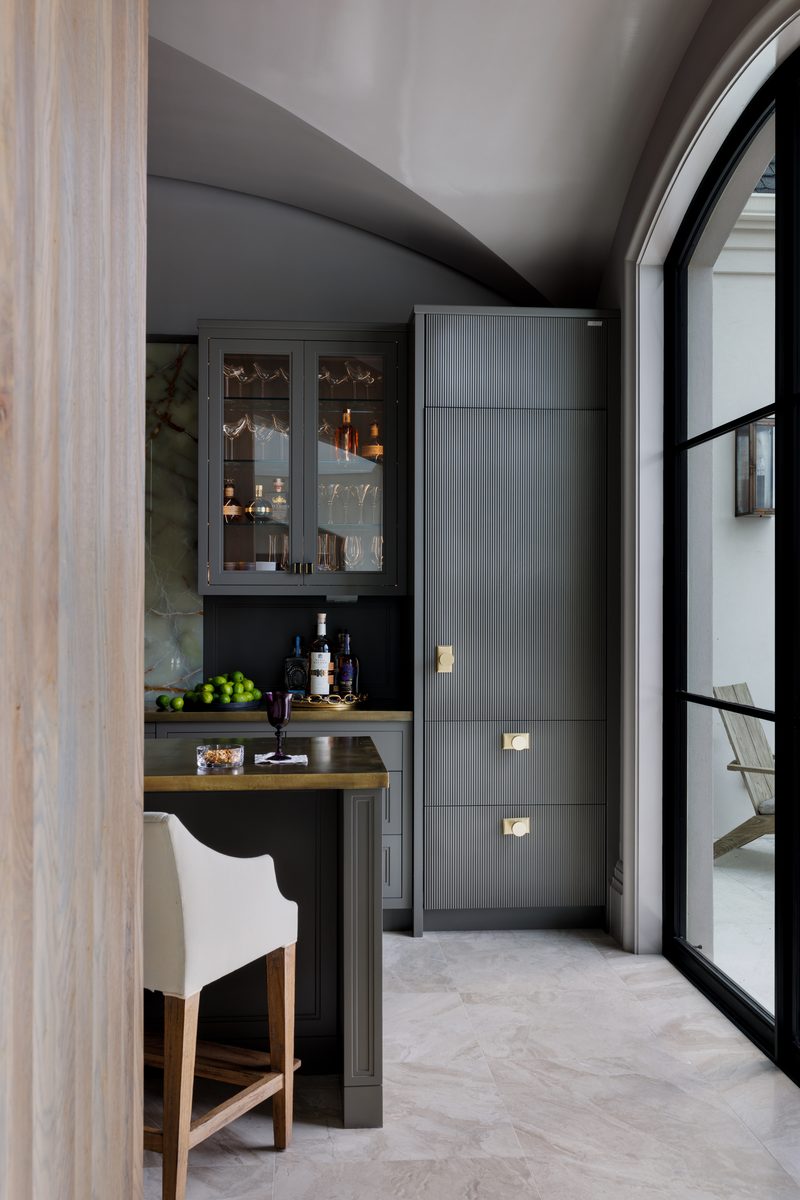
Overcast vs. Sunny: The Trade-off Designers Don't Expect
Overcast days are often better for interior photography than sunny ones, and that surprises almost every designer I work with. A sunny day sounds ideal, but direct sun through a window creates hard-edged shadows and blown highlights that fight the rest of the room for exposure. You end up with a bright hot spot by the window and a comparatively dark room beyond it: exactly the contrast problem strobes exist to solve, except now you're fighting harder light to begin with.
Overcast skies act like a giant softbox. The light coming through the windows is diffused, even, and far more forgiving: less contrast to balance, fewer harsh shadows to fill, and a more consistent color temperature across the whole window. Rooms with big windows or lots of glass often photograph more evenly on a gray day than a bright one.
This doesn't mean sunny days are bad. Direct sun can be worked with, especially with sheers, blinds, or strobe balancing. But if a shoot lands on an overcast day, that's not a scheduling loss. It's frequently the easier light to work with, not the harder one.