After an interior photography shoot, there's far less mystery than most designers expect, because the final images are already decided. On an editorial shoot, you and I agree on the finals on shoot day, while the room is still styled and we can both see the frame. After that, it's a short editorial finish (color, exposure, and perspective) delivered through an online gallery, typically within 1–2 weeks. No private culling. No surprise count.
Most designers carry two quiet anxieties out of a shoot: how many images will I actually get, and when. Both of those get answered before you leave the property. Here's the whole arc, from the moment we wrap to the day the gallery lands in your inbox.
The Finals Are Decided Before You Leave
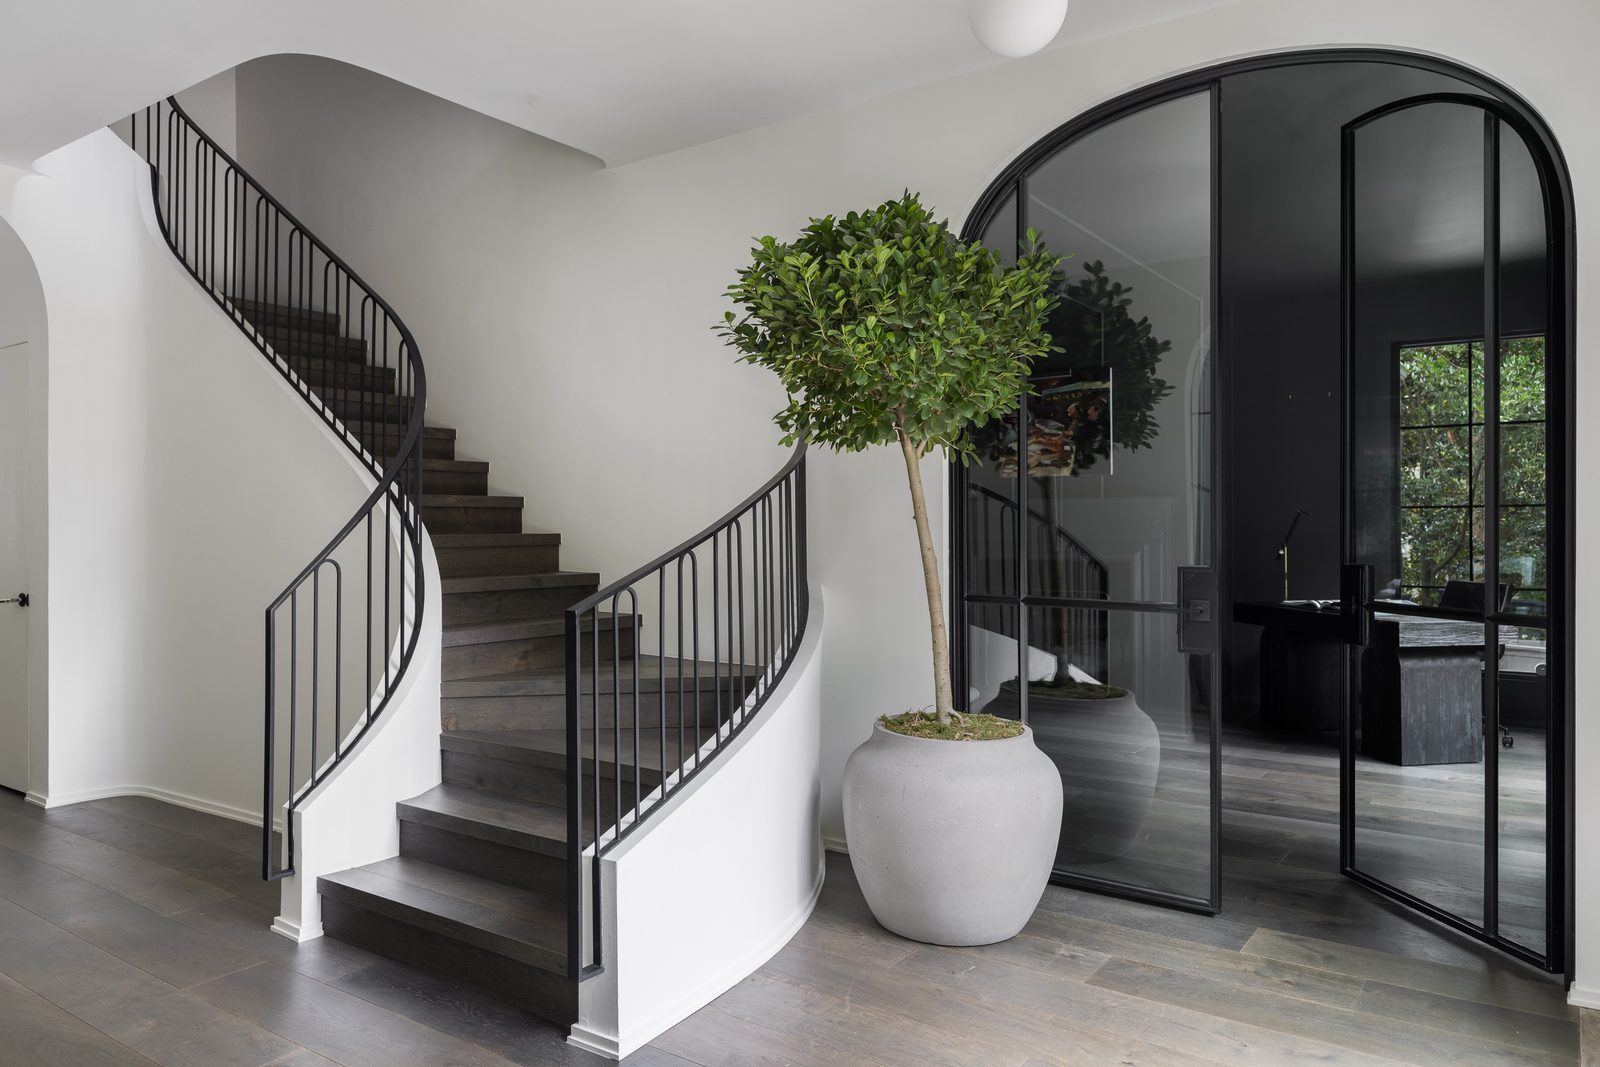
The single most reassuring thing about how I work is also the least talked about in this industry: we choose the final images together, on shoot day. There's no private culling session a week later, no sprawling proof gallery for you to wade through, and no moment where a number you weren't expecting shows up in your inbox.
As we move room to room, we're reviewing frames as we go: checking the back of the camera, agreeing which angles are keepers, deciding when a room is fully covered and when it needs one more. By the time we wrap, the set is locked. You walk out knowing exactly which images are coming.
That's a deliberate departure from the common pattern. The industry default is shoot now, cull privately, deliver weeks later, which leaves the designer guessing through the whole gap. Will the count be what I needed for the project page? Did the angle I cared about make the cut? On-set selection settles all of that while you're still standing in the room and can still weigh in. It's the natural continuation of how a good shoot runs in the first place. If you want the front half of that story, I wrote about what to expect during the shoot itself.
The Post-Shoot Timeline, Step by Step
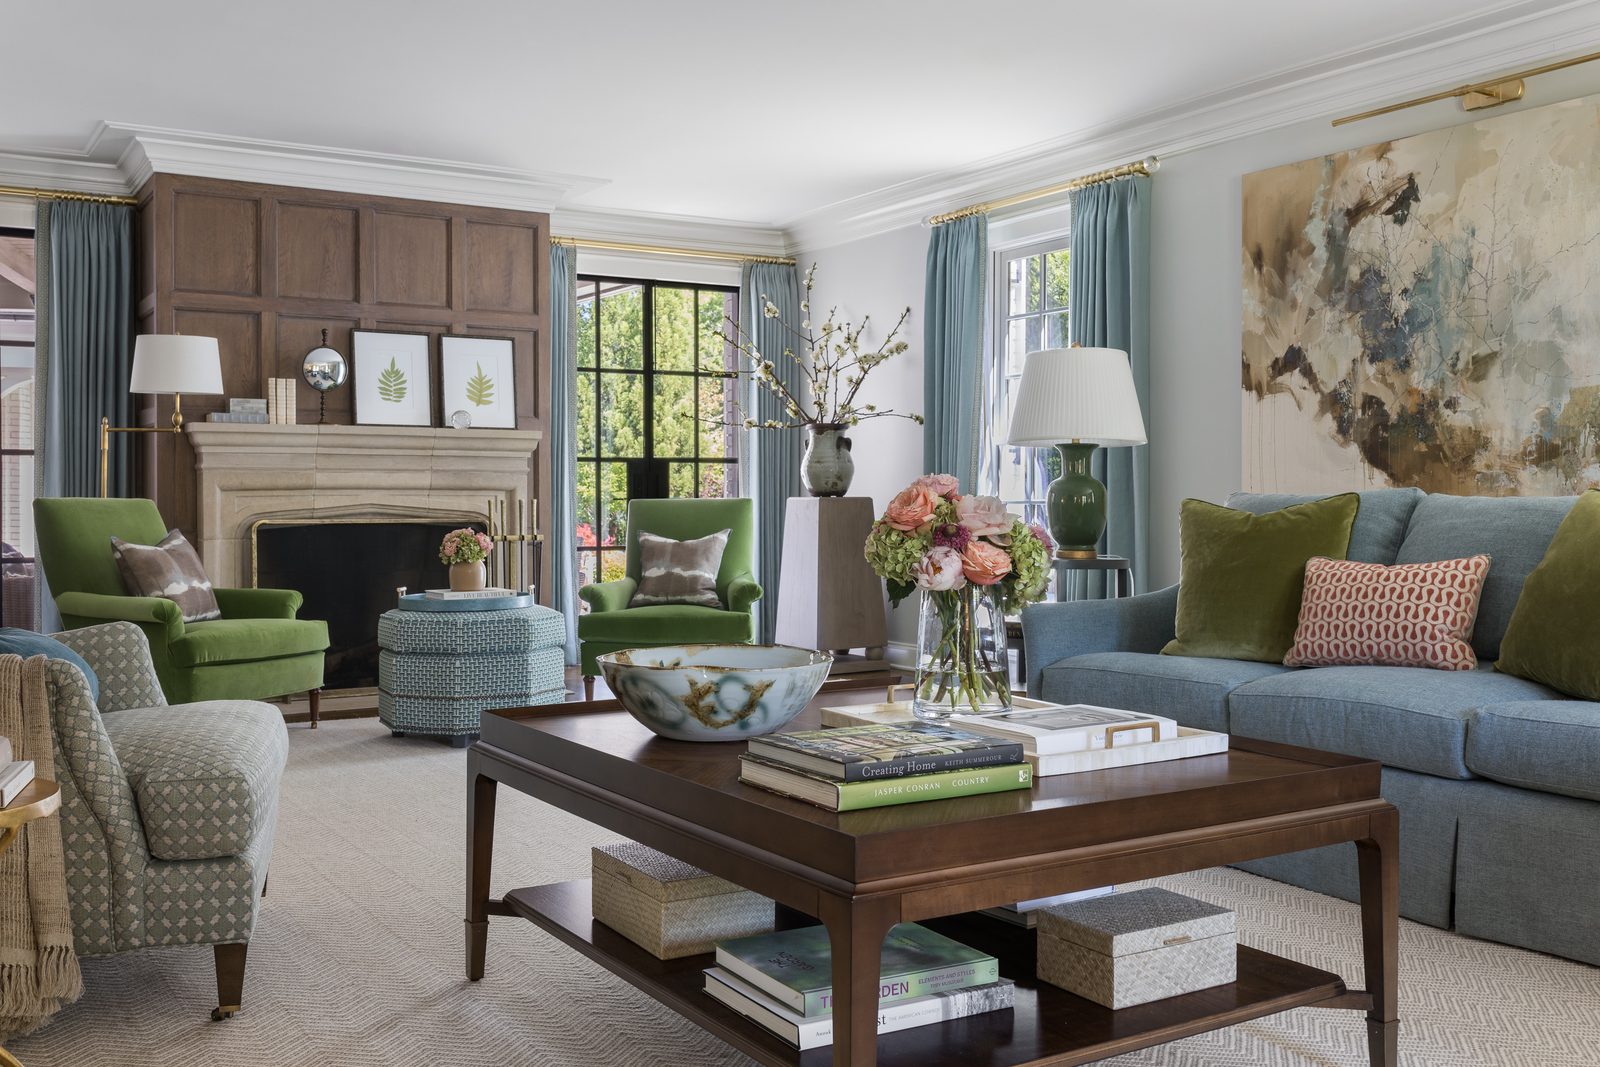
Once the selects are locked, the rest is a predictable sequence. Here's exactly what happens and how long each part takes.
Shoot day: selection. The finals are agreed on set, as described above. This is the step that makes everything downstream faster, because there's no decision still hanging.
The days after: the editorial edit. Each final image gets the standard editorial finish: color grading, exposure balancing, and perspective correction to true up the verticals. This is the work that turns a strong in-camera frame into a published-ready image.
Within 1–2 weeks: gallery delivery. The finished finals arrive as an online gallery you can download from. Typical turnaround is one to two weeks from shoot day. Busy season can stretch that slightly, but because the selection is settled up front, the edit keeps moving. There's no backlog of "which ones do I even work on" sitting between the shoot and the delivery.
On request: print files. The gallery delivers web-resolution files by default, with full-resolution print files available whenever you need them.
For reference on volume: a full-day editorial shoot typically yields around 12–15 final images. I've broken down where that number comes from and why a planned shoot makes those images work harder elsewhere. The short version is that a deliberate set of 12–15 covers a project across your website, social, and a press pitch without padding.
What the Edit Actually Does, and Doesn't
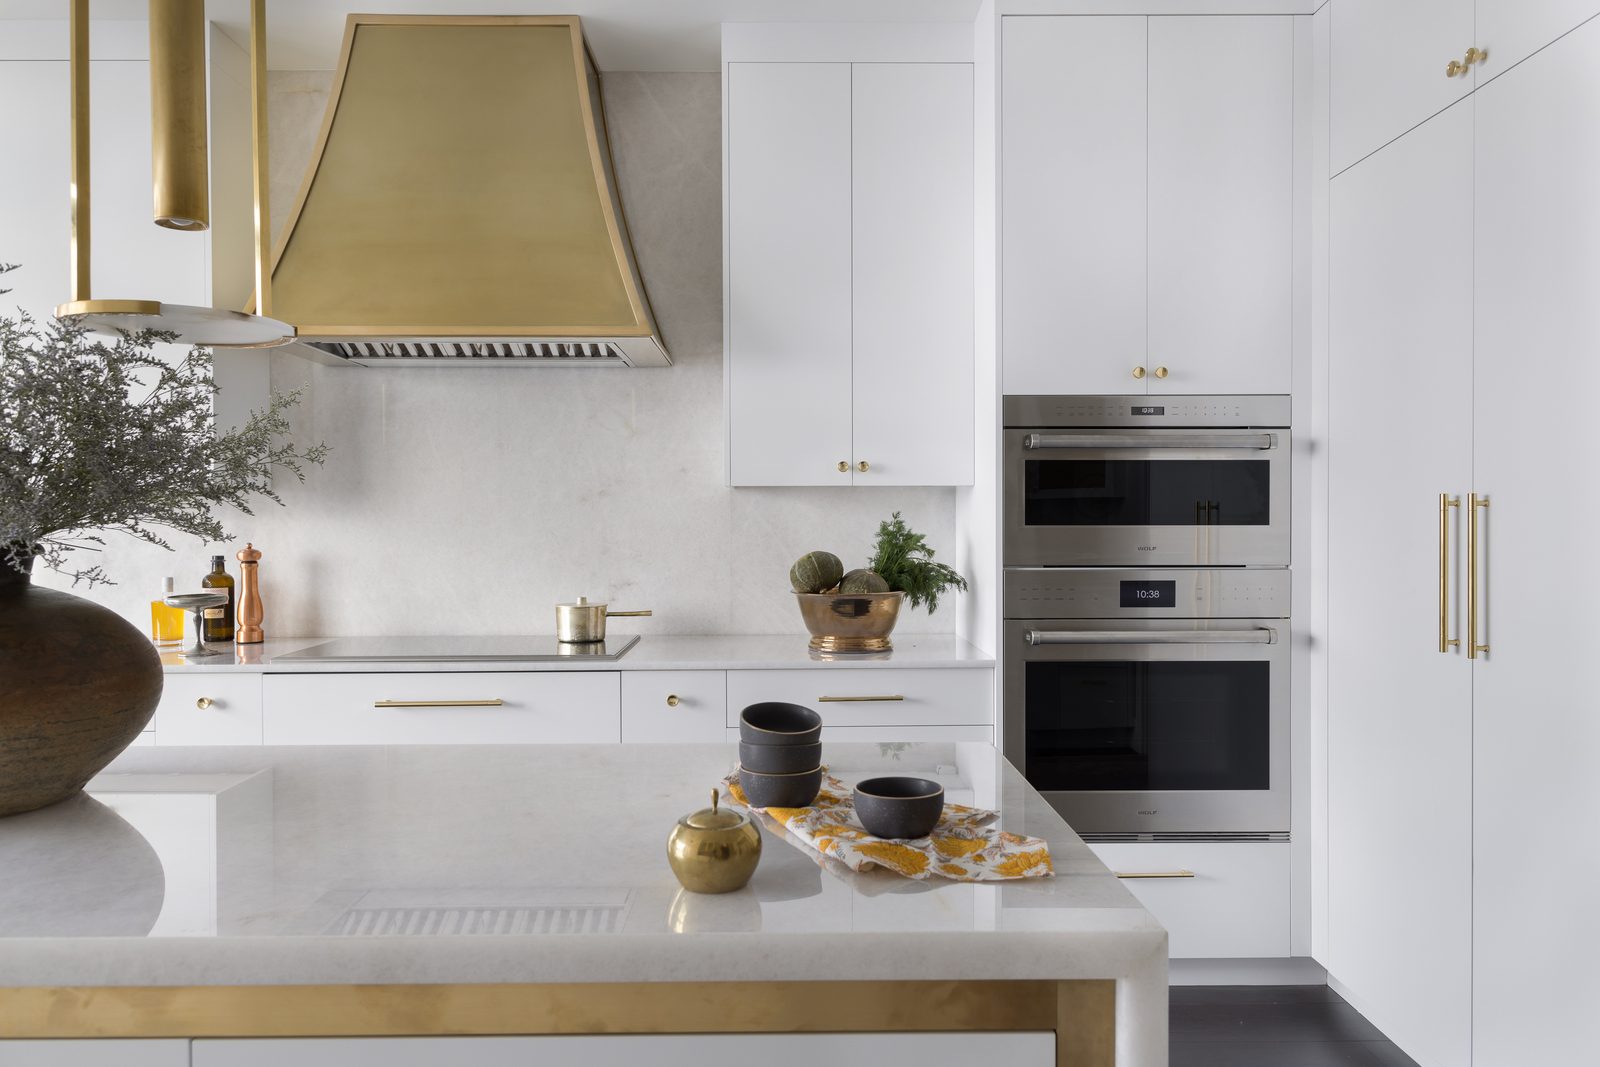
The standard editorial finish is three things: color, exposure, and perspective correction. That's what carries a frame from "accurate" to "published." Color grading sets the mood and keeps tones true to the room. Exposure balancing handles the gap between a bright window and a shadowed corner so both read the way your eye saw them. Perspective correction straightens the verticals, because a wall that leans even slightly reads as "off" to a viewer who can't say why. Removing small distractions like light switches and outlets is part of that finish too, on request: minor cleanups that keep the eye on the room rather than on the wall plate.
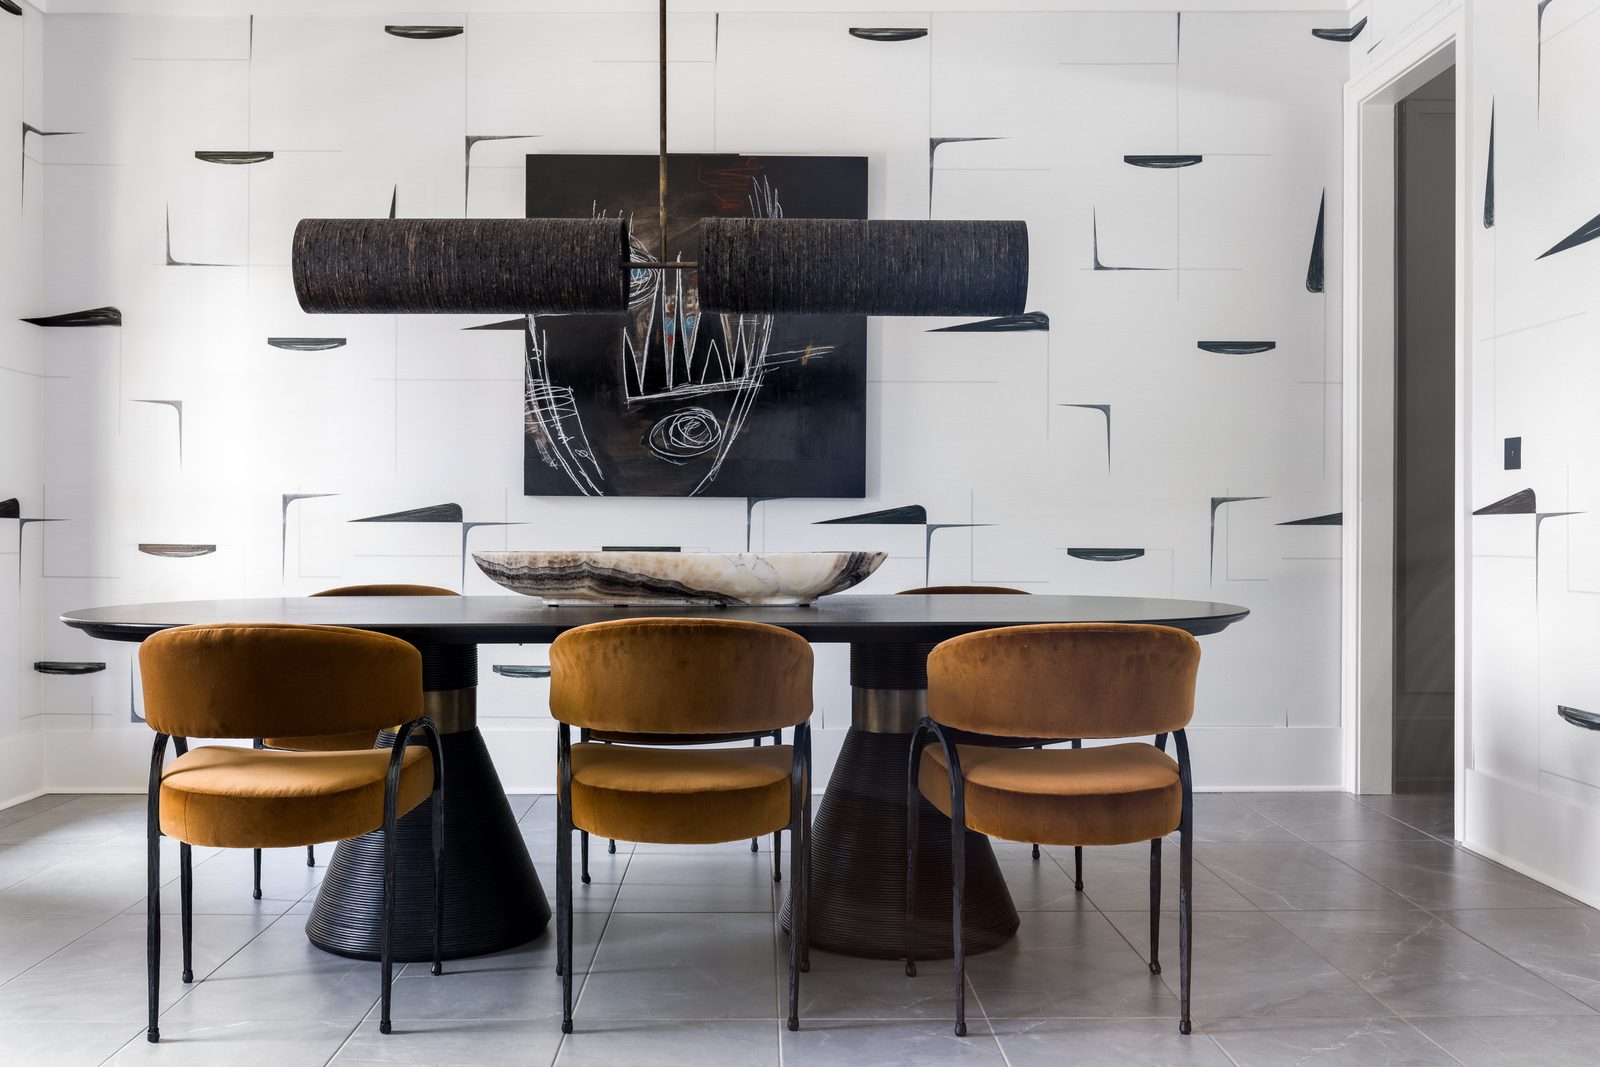
What makes that a finish rather than a salvage job is that the real work already happened in the room. The styling was dialed in, the frame was composed deliberately, the verticals were captured straight. When the on-set work is right, the edit refines; it doesn't rescue. That's the whole argument for getting the styling right before the shutter fires and for bringing the styling kit that fixes problems on set.
It's worth being clear about the bigger boundary, too. Most images don't need significant retouching, but every so often one does, and like the selects themselves, that's a call we make on shoot day. Heavier work like compositing, replacing what's visible through a window, or major object removal is occasional rather than routine, and when a frame needs it we flag it while we're still in the room. The better lever is almost always getting it right on set in the first place. That's the honest version, and it's also the one that produces a better image.
How the Files Arrive and How to Use Them
Delivery is an online gallery you can download from at your own pace. Web-resolution files come standard, sized and compressed for the places most of your images actually live: your website project pages, your Instagram, your email newsletter, a proposal deck.
Full-resolution files are available on request. In practice, almost no one asks because they want to make a print themselves; they ask because a magazine or shelter publication needs a high-resolution file to run the project in print. Most designers operate in web-res day to day and request the full-resolution files only when a feature calls for them.
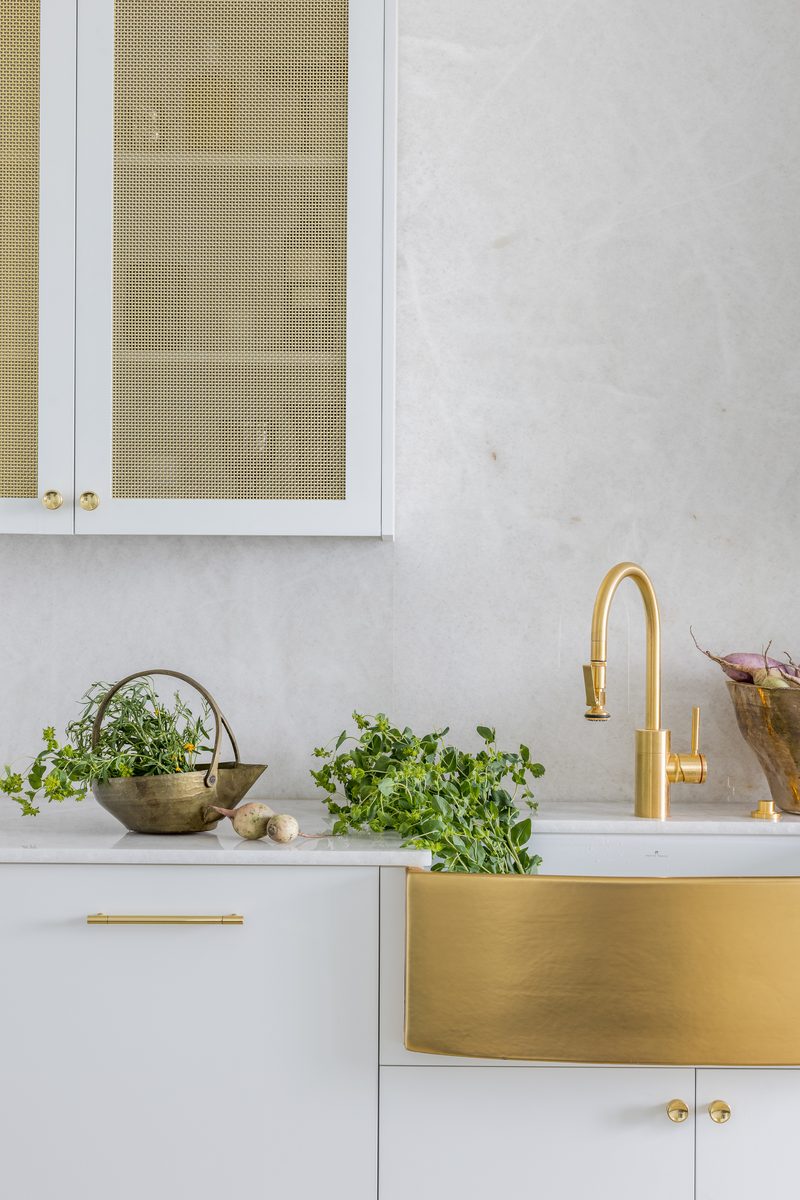
The practical takeaway: one delivered set is built to travel across every surface your work needs to show up on. You don't re-shoot for the website and then again for press. The same gallery feeds all of it, at the resolution each destination requires.
The Short Version
After an interior photography shoot, the finals are already chosen: you and I agree on them on shoot day, so you leave knowing exactly which images are coming and how many. From there it's a short editorial finish (color, exposure, and perspective correction) delivered as an online gallery, typically within 1–2 weeks. Files come web-resolution by default, with full-resolution files on request (usually when a magazine needs them for print) so one set carries you across your website, social, and press without a re-shoot. The heavy lifting happens in the room, not in the edit, which is exactly why the turnaround stays tight. If you've got a project coming up and want to talk through how the whole process would run, I'd be glad to walk you through it.
Quick Answers
How long does it take to get interior design photos back after a shoot?
Typical turnaround is one to two weeks from shoot day to a delivered online gallery. The reason it stays that tight is that the final images are selected on shoot day rather than culled privately afterward, so the editing starts immediately on a known set. Busy season can stretch the timeline slightly, but the up-front selection keeps it moving.
How many photos do you get from an interior design shoot?
A full-day editorial shoot typically delivers around 12–15 final images. Because the selects are agreed on set, that count isn't a surprise: you know it before you leave the shoot. A deliberate set of 12–15 is enough to carry a project across your website, social media, and a press pitch without padding the gallery with near-duplicates.
How are interior design photos delivered?
Final images are delivered through an online gallery you can download from at your own pace. Web-resolution files come standard, sized for your website, social media, and email. Full-resolution files are available on request, most often when a magazine needs a high-resolution file to run the project in print.
What editing is included with interior design photography?
The standard editorial finish includes color grading, exposure balancing, and perspective correction on every final image. That's the work that turns a strong in-camera frame into a published-ready one: true color, balanced light between windows and shadows, and straight verticals. It's a refinement of work that was already done well on set, not a rescue of a weak frame.
Can you remove or photoshop things out of interior design photos?
Small cleanups like removing light switches and outlets are included on request as part of the standard finish, alongside color, exposure, and perspective correction. Heavier work like compositing or major object removal is occasional rather than routine; most images don't need it, and when one does, that's a call we make on shoot day. The more reliable fix is always composing the frame on set to avoid the problem in the first place.