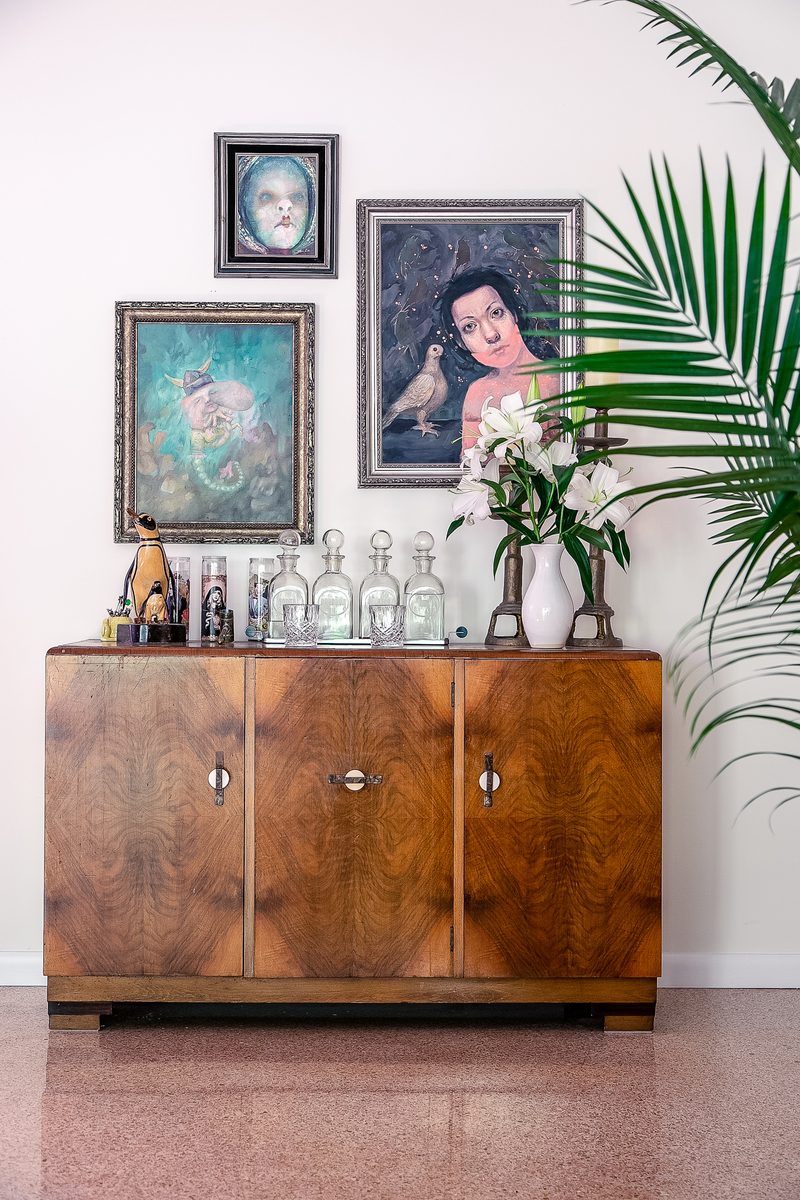
The Publication-Ready Mindset: Why Great Shoots Are Decided Before the Camera Arrives
Tomas Espinoza7 min read
Great interior photography shoots are decided in the two weeks before the camera arrives, not on shoot day. Editors aren't choosing between good photography and bad photography anymore. They're choosing between projects that were designed and prepped to be photographed and projects that were merely finished. The difference isn't a bigger budget or better luck. It's a mindset: treating the camera as a stakeholder in the project instead of a documentation step at the end.
What an Editor Actually Sees
My work has been published in HGTV Magazine, House Beautiful, and People. I'm not an editor, but fifteen years of shooting for publication puts you on the receiving end of how submissions actually get reviewed, because you watch which projects survive the first pass and which ones vanish without a reply.
Here's the uncomfortable part: the first pass takes about ten seconds. Not ten minutes. An editor is scrolling through images before anyone reads a word of the pitch, and a handful of things end the scroll instantly.
No clear hero shot. Twenty competent images and nothing that could open a feature. If the editor can't immediately see the frame that leads the story, there is no story.
Styling that reads wrong through the lens. In person the room felt layered and warm. On camera it reads cluttered, or it was stripped down for the shoot and now reads bare. The lens is not a forgiving guest.
No narrative. Rooms that are beautiful but say nothing. An editor isn't collecting pretty rooms; she's building stories, and a room with no point of view gives her nothing to build with.
Images that look like real-estate photography. I've covered this one in depth in how interior photography helps designers get published, so I won't re-teach it here, but the bright, wide, fast look says for sale, not designed, and it gets passed over every time.
Notice that none of these are design problems. Every one of them is a preparation problem. Which is exactly the point.
A Good Shoot and a Great Shoot, Side by Side
I want to walk you through two shoots. Neither is a single real project. This is the pattern I've watched repeat for fifteen years, blended from dozens of shoots and anonymized on purpose. But if you've been doing this a while, you'll recognize at least one of them.
First, some context for why I see it this way. Part of my fifteen years behind the camera was spent shooting TV production sets for HGTV programming, and here's what nobody tells you about those spaces: they are built for the camera. The designer knows where the camera will stand before the first wall goes up. Sight lines are composed. Styling is layered at the depth the lens will actually read. Nothing in frame is accidental, because the frame was decided first.
Most residential projects are the exact opposite. They're designed for living (as they should be) and then photographed as an afterthought. The shoot gets booked after the install, the camera shows up to a space that was never asked a single question about how it would photograph, and everyone hopes for the best.
The good shoot. A strong project: call it a Buckhead renovation. The design work is genuinely excellent. The install wrapped months ago, the client has been living in the space, and the designer books the shoot because the project deserves it. Shoot day arrives, and we spend the first ninety minutes editing the family's daily life back out of the rooms. There was never a conversation about a hero shot, so we hunt for one on the clock. The styling is whatever happens to be in the house. The images come out good, genuinely good. And the submission goes nowhere, because good is the entry fee now.
The great shoot. A designer I shoot with regularly decided at design time that her project would be submitted. We talked about the hero wall while it was still a drawing: which angle would carry a feature, what the camera would see standing in the doorway. She scheduled the shoot in the narrow window right after install, before daily life moved in. Two weeks out, we did a walk-through: shot list built, styling gaps identified, extra pieces ordered, and the story of each room decided in advance. Shoot day wasn't a hunt. It was an execution. Same caliber of design as the first project. A completely different outcome on the editor's screen.
The design talent in those two stories is equal. The two weeks weren't.
Free: Interior Photography Prep Checklist
The professional standard, in checklist form.
A 7-page printable checklist for interior designers, designed to make shoot day feel like execution, not crisis management.
The gap between those two shoots comes down to three shifts in how you think about your project and the camera.
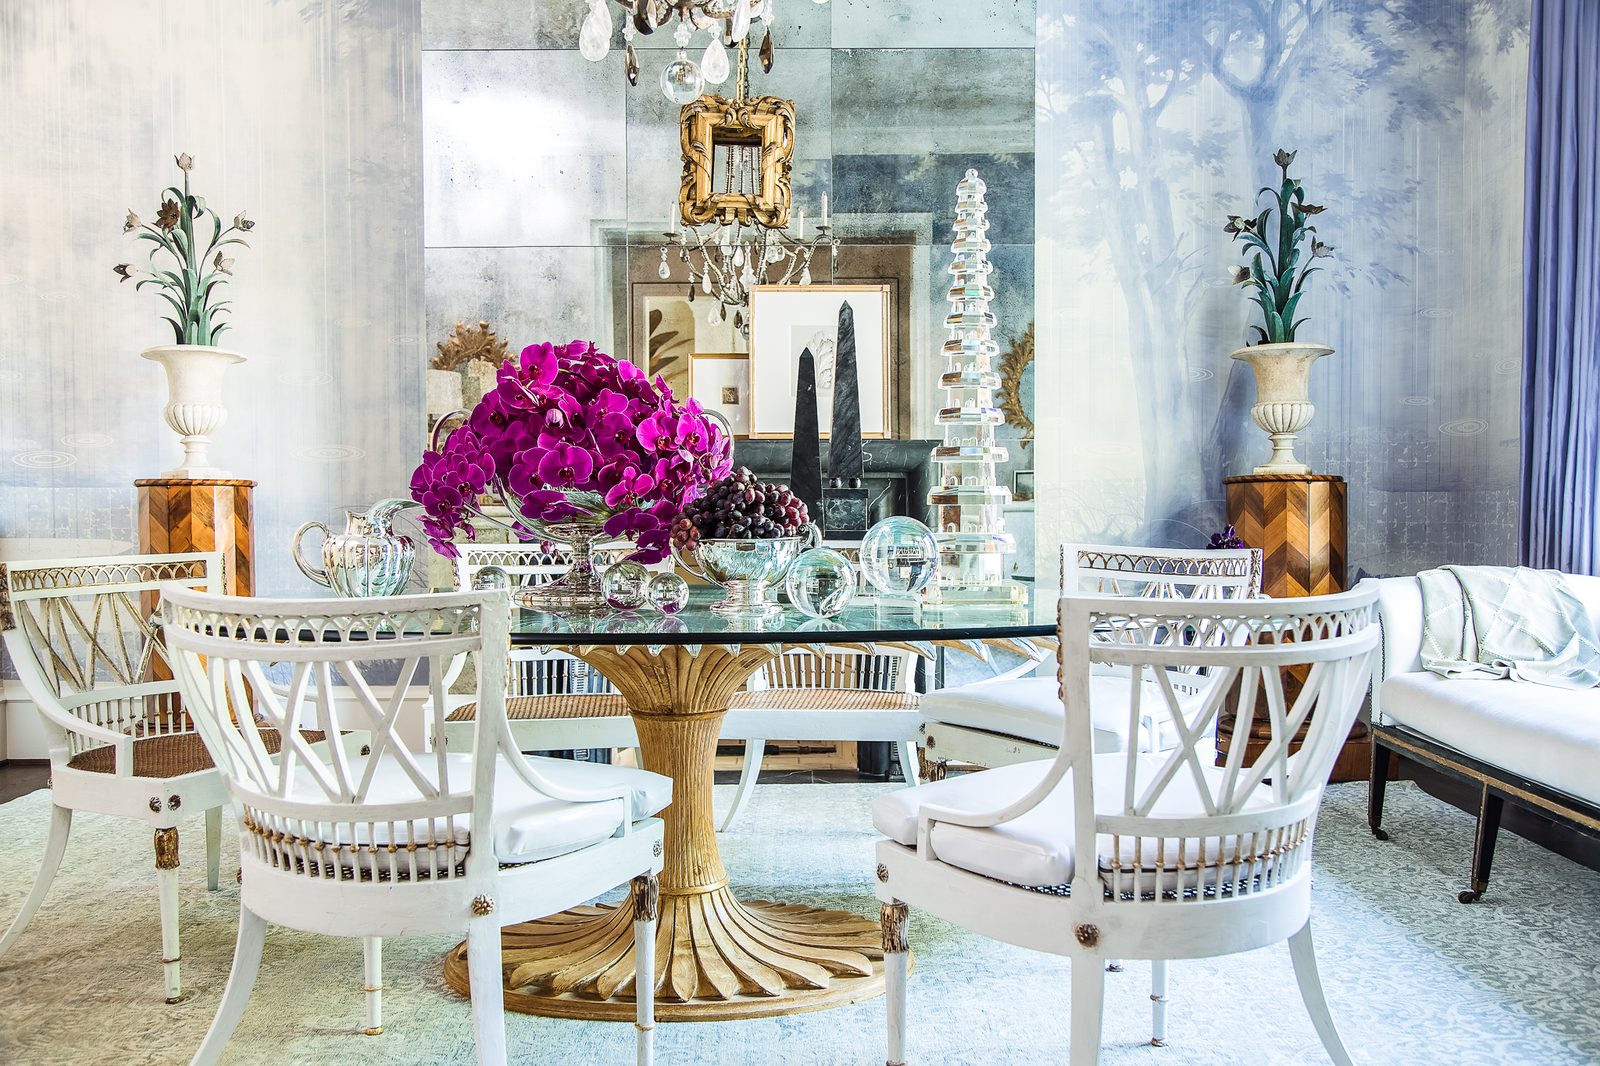
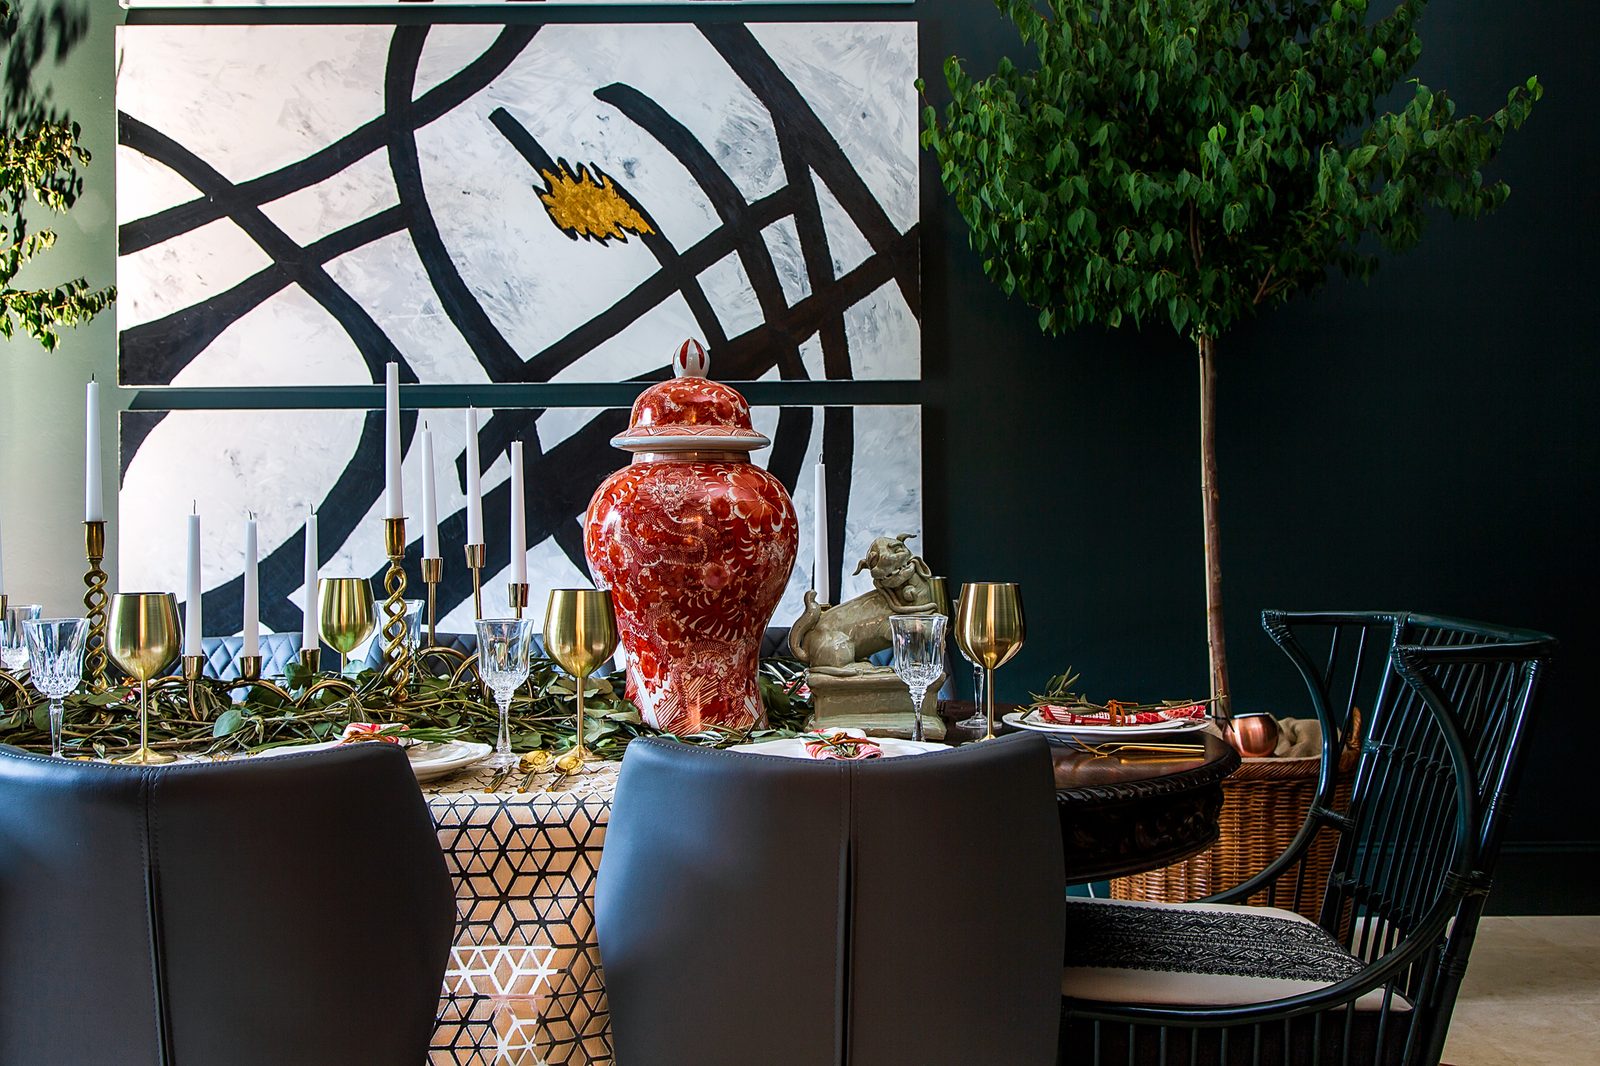
The camera sees narrower and deeper than a guest. A guest takes in the whole room at once and forgives almost everything. The camera takes in a slice, and inside that slice, it sees everything. Styling for the lens is about depth: foreground, mid-ground, and background layered inside one frame, not a tidy surface viewed from the doorway. This is why rooms that wow visitors can fall flat in photographs, and why "we cleaned up for the shoot" is never enough. I've written about the specific styling decisions that undermine photography if you want the detailed version.
Every room needs one story, not ten features. Designers love everything in the room; that's the job. Editors need the room to be about something: the conversation between the plaster and the walnut, the unexpected color move, the way the light lands at 4 p.m. A frame with three competing centers of interest says nothing. Decide what the room is about before the shoot, and let the frame make that one argument.
Publication is a project goal you commit to at design time, not a lottery ticket you scratch after install. This is the TV-set lesson translated to residential work. You don't have to design for the camera at the expense of the client; you need one early conversation that puts the camera in the room as a stakeholder. Which wall is the hero. Which window the light comes through. Which week the space will be camera-ready before life moves in. Projects that get published made that commitment months before anyone touched a tripod.
Where the Mindset Becomes a Checklist
Mindset is the why. Prep is the how, and the how is operational: a two-week sequence of walk-throughs, styling calls, and room-by-room details that nobody should hold in their head. I built that sequence into a free Interior Photography Prep Checklist, the same one my own shoots run on. This post stands on its own without it; the checklist is just the version you can hand to your team.
For the room-by-room fundamentals, start with how to prepare your space for a shoot. And if you're earlier in the process, here's my full guide to working with an interior photographer. One more thing worth knowing as you plan: my standard session includes one editorial publication license, so when the feature lands, the images are already cleared.
The Short Version
Publication-ready projects are decided before the camera arrives, usually in the two weeks before the shoot, and ideally back at design time. Editors filter submissions in about ten seconds, and what survives that pass is a clear hero shot, styling that reads through a lens rather than to a guest, and a room with one story instead of ten features. The gap between a good shoot and a great one isn't budget or design talent; it's whether the project was designed and prepped to be photographed or merely finished. If you want the operational version of this mindset, my free Interior Photography Prep Checklist walks you through the same two-week sequence my own shoots run on.
Quick Answers
How do I get my interior design project published?
Start with photography that's planned for editorial from the beginning: a hero shot in both orientations, a mix of wide, mid-range, and detail frames, and styling at publication level. The mindset in this post is the foundation; the mechanics of shot variety, submission packages, and working with editors are covered in how interior photography helps designers get published.
What do magazine editors look for in interior design submissions?
A clear hero image that could open a feature, styling that reads intentional through the lens, and a room that tells one story. Editors review images before reading a pitch and decide in roughly ten seconds. Submissions fail on missing hero shots, cluttered or bare styling, no narrative, and a real-estate-photography look, not on design quality.
What does "publication-ready" mean in interior design?
A publication-ready project was designed and prepped to be photographed, not just finished. That means the hero angle was identified early, the styling was planned at the depth the camera reads, each room has a single clear story, and the shoot was scheduled in the window when the space is camera-ready. It's a planning standard, not a photography style.
When should I start preparing my project for a photo shoot?
Two weeks before the camera arrives, at minimum: that's when the walk-through, shot list, styling plan, and hero-shot conversation happen. Ideally, the publication goal is set at design time, so camera angles and the post-install shoot window are built into the project plan instead of improvised afterward.
Does getting published require a bigger photography budget?
No. The projects that get picked up aren't the ones with the most expensive shoots. They're the ones that were prepped to be photographed. The difference is planning: a hero-shot conversation, a styling plan, and the right shoot window. For what it's worth, my standard Atlanta session already includes one editorial publication license, so a feature doesn't cost extra when it comes.